Essential Tools for Lift Kit Installation
Before you begin installing a lift kit on your truck, it is crucial to have the necessary tools. The five essential tools you cannot live without are three wrenches (lug, socket, and torque), a screwdriver, and a vehicle jack with jack stands. Other helpful tools include a pry bar, hammer, WD-40 or penetrating oil, nuts and bolts, and a pry bar. However, it is important to note that these tools are just the minimum requirement for a lift kit installation.
Key Takeaways
- Having the essential tools for lift kit installation is crucial for a successful installation process.
- The five essential tools are lug wrench, socket wrench, torque wrench, screwdriver, and a vehicle jack with jack stands.
- Additional tools such as a pry bar, hammer, WD-40 or penetrating oil, nuts and bolts, and a pry bar can make the installation process easier.
- It is important to consult the manufacturer’s instructions for any specific tools recommended for your lift kit installation.
- Investing in the right tools will ensure a smoother lift kit installation process and help prevent any complications.
The General Process of Lifting a Truck
The process of lifting a truck with a lift kit may vary depending on the specific kit and manufacturer’s instructions. However, here is a general idea of the steps involved:
- Start by gathering all the necessary tools and equipment for the installation process which will be discussed further in Section 5: Tools Needed for Lift Kit Installation.
- Park your truck on a stable and level surface. Remember to engage the parking brake for added safety.
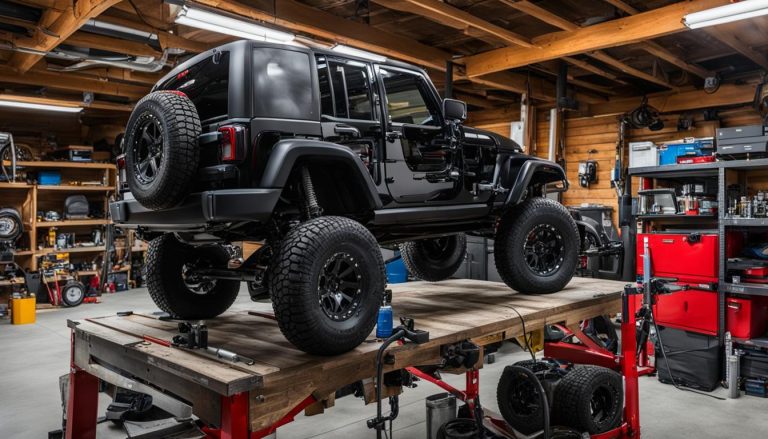
- Use a jack to lift the truck off the ground, positioning the jack stands underneath the vehicle’s frame to support its weight securely. Always follow the manufacturer’s instructions for jack and jack stand placement.
- Using appropriate tools, start by removing the wheels and tires to access the suspension components.
- Next, carefully detach the necessary suspension components such as sway bars, control arms, and shocks using the appropriate tools.
- Follow the lift kit manufacturer’s instructions to install the new suspension components. This often involves attaching new control arms, brackets, and, in some cases, adjusting the torsion bars or coil springs.
- Once the new suspension components are installed, reattach the sway bars, control arms, and shocks using the appropriate tools.
- After ensuring all components are securely fastened, lower the truck from the jack stands using the jack.
- Reinstall the wheels and tires, ensuring they are tightened to the manufacturer’s recommended torque specifications.
- Double-check all fasteners and connections to ensure they are properly tightened.
- Finally, perform a test drive to ensure the lift kit installation has been successful and that the truck’s handling and performance meet your expectations.
Should I Do It Myself?
When it comes to installing a lift kit on your truck, DIY (Do-It-Yourself) may seem like an attractive option to save money. However, before you dive into the project, it’s important to consider the pros and cons.
One of the main advantages of DIY lift kit installation is the potential cost savings. By doing it yourself, you can avoid the labor costs associated with hiring professionals. Additionally, taking on the project can give you a sense of accomplishment and pride in completing a task on your own.
“Installing a lift kit can be a complex task, and without proper expertise, you may encounter difficulties.”
However, it’s crucial to acknowledge that lifting a truck can be a complex and challenging task. Without the necessary expertise and experience, you may face difficulties during the installation process. Improper installation can lead to safety issues or potential damage to your vehicle.
Another factor to consider is the tools required for lift kit installation. Purchasing all the necessary tools can be costly, especially if you don’t have them on hand. On the other hand, hiring professionals means you won’t have to worry about acquiring specialized tools.
Ultimately, the decision to DIY or hire professionals for lift kit installation depends on your skill level, confidence, and budget. If you have prior experience with vehicle modifications and access to the required tools, DIY may be a feasible option. However, if you’re uncertain about your abilities or want to ensure a safe and efficient installation, it’s recommended to consult professionals.
Pros of DIY Lift Kit Installation:
- Opportunity to save on labor costs
- Sense of accomplishment and pride
Cons of DIY Lift Kit Installation:
- Complex task that requires expertise
- Potential safety issues and vehicle damage
- Cost of purchasing necessary tools
Considering these factors will help you make an informed decision that aligns with your capabilities and goals. Whether you choose to take on the installation yourself or hire professionals, prioritize safety and ensure a proper lift kit installation for a smoother and more enjoyable off-road experience.
Before you proceed, let’s take a look at the different suspension types you need to be aware of. Understanding your suspension type is crucial for selecting the right lift kit and ensuring a successful installation.
Know Your Suspension Type
Before purchasing a lift kit, it is crucial to understand your vehicle’s suspension type. The two main types of lift kits are suspension lift kits and body lift kits. Each type offers its own unique benefits and considerations.
Suspension Lift Kits
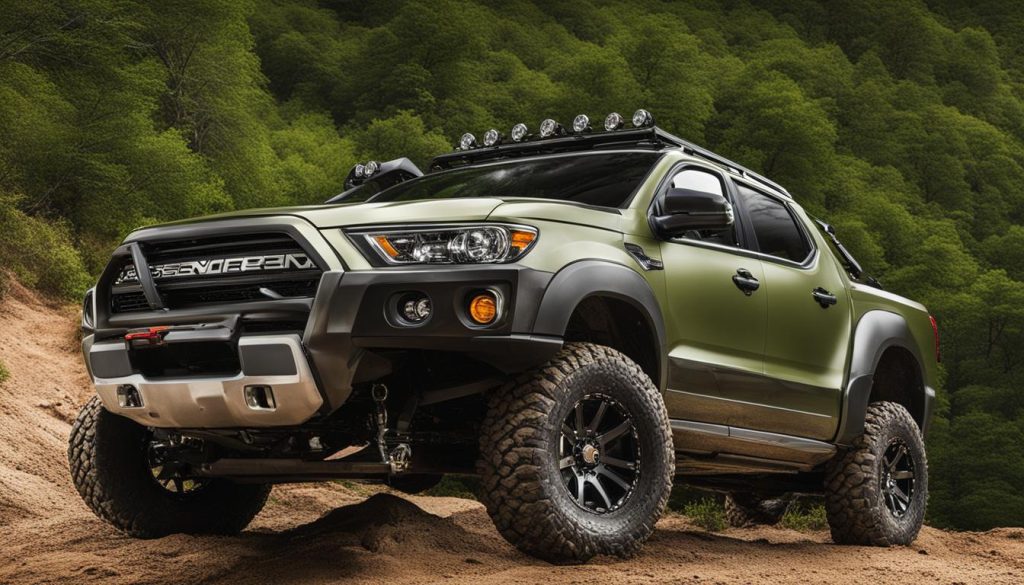
Suspension lift kits are designed to increase your vehicle’s ground clearance and enhance its off-road capabilities. These kits include various components such as taller coil springs, longer shocks, and sway bar extensions to lift the entire suspension system. By raising the suspension, a suspension lift kit allows for larger tires, improved approach angles, and better articulation, resulting in a smoother ride over challenging terrain.
It is important to review the manufacturer’s instructions specific to your suspension type when installing a suspension lift kit. Following these instructions ensures a proper and safe installation, as different vehicles may require specific modifications to accommodate the lift kit.
Body Lift Kits
Body lift kits, on the other hand, provide additional clearance by lifting the body of the vehicle off the frame. These kits typically include spacers or blocks that are placed between the body and frame, providing the desired lift height. Body lift kits are a more affordable option compared to suspension lift kits and are relatively easier to install.
However, it’s important to note that body lift kits do not offer the same performance improvements as suspension lift kits. While they increase ground clearance, body lift kits do not enhance the suspension’s capabilities. Therefore, if you’re primarily looking for improved off-road performance, a suspension lift kit may be the better choice.
When considering which lift kit to purchase, take into account your specific needs, budget, and intended use for your vehicle. It is also crucial to consult with a reputable manufacturer or professional to ensure you select the right lift kit and suspension type for your vehicle.
| Lift Kit Type | Benefits | Considerations |
|---|---|---|
| Suspension Lift Kits |
|
|
| Body Lift Kits |
|
|
Tools Needed for Lift Kit Installation
When it comes to installing a lift kit on your truck, having the right tools is essential. In addition to the necessary tools mentioned earlier, there are a few other tools that can significantly simplify the installation process. Here are some recommended tools for lift kit installation:
- Pry bars: These versatile tools can help you remove stubborn parts and provide the leverage needed for certain installation steps.
- PB Blaster or penetrating oil: This type of lubricant can be incredibly useful in loosening rusted or seized fasteners, making them easier to remove.
- A standard socket and wrench set: Having a comprehensive set of sockets and wrenches in various sizes will ensure that you have the right tools for adjusting and tightening bolts and fasteners.
- Vehicle jacks and stands rated for your vehicle: Sturdy and reliable jacks and stands are crucial for safely raising and supporting your vehicle during the installation process.
- A torque wrench: This tool is essential for achieving the proper torque specifications when tightening critical fasteners, ensuring the safety and longevity of your lift kit installation.
- Lug wrench: A lug wrench is necessary for removing and installing lug nuts.
Additionally, having a screwdriver(s), hammer, extra nuts and bolts, safety wire or other rigid wire, spring compressor (for front coil spring suspensions), torsion bar unloading tool, breaker bar, impact wrench, reciprocating saw, drill and drill bits, and access to an auto lift if possible can further enhance the efficiency and ease of the lift kit installation process.
Remember, when working with any lift kit, always refer to the manufacturer’s instructions for any specific tools recommended for your particular kit. Having the right tools at your disposal will not only make the installation smoother but also ensure a successful and safe lift kit installation for your truck.
FAQ
What tools do I need to install a lift kit?
The essential tools for lift kit installation include three wrenches (lug, socket, and torque), a screwdriver, and a vehicle jack with jack stands. Additional helpful tools include a pry bar, hammer, WD-40 or penetrating oil, nuts and bolts, and a pry bar.
What is the general process of lifting a truck with a lift kit?
The process of lifting a truck with a lift kit may vary depending on the specific kit and manufacturer’s instructions. However, the general steps involved include lifting the truck, removing the old suspension components, installing the new lift kit components, and adjusting the suspension to the desired height.
Should I install a lift kit myself or hire a professional?
While it may be tempting to do the lift kit installation yourself to save costs, it is important to consider the challenges involved. Lifting a truck can be a complex task, and without proper expertise, you may encounter difficulties. Additionally, purchasing all the necessary tools for the installation may end up being more expensive than hiring a professional. Therefore, it is advisable to weigh the pros and cons and consider consulting a professional for lift kit installation.
What suspension type do I need for a lift kit?
Before purchasing a lift kit, it is important to know your vehicle’s suspension type. There are two main types of lift kits: suspension lift kits and body lift kits. Suspension lift kits provide improved ground clearance and handling. It is crucial to review the manufacturer’s instructions specific to your suspension type for accurate installation guidance.
What are the recommended tools for lift kit installation?
In addition to the essential tools mentioned earlier, other helpful tools for lift kit installation include pry bars, PB Blaster or penetrating oil, a standard socket and wrench set, vehicle jacks and stands rated for your vehicle, a torque wrench, lug wrench, screwdriver(s), hammer, extra nuts and bolts, safety wire or other rigid wire, spring compressor (for front coil spring suspensions), torsion bar unloading tool, breaker bar, impact wrench, reciprocating saw, drill and drill bits, and access to an auto lift if possible. Having these tools on hand will facilitate a smoother installation process. Remember to always consult the manufacturer’s instructions for any specific tools recommended for your lift kit installation.

